
Absolutely! Here’s a warm and engaging article based on your experience with making **three double batches of peanut butter fudge** — ideal for a blog, recipe collection, or holiday write-up:
—
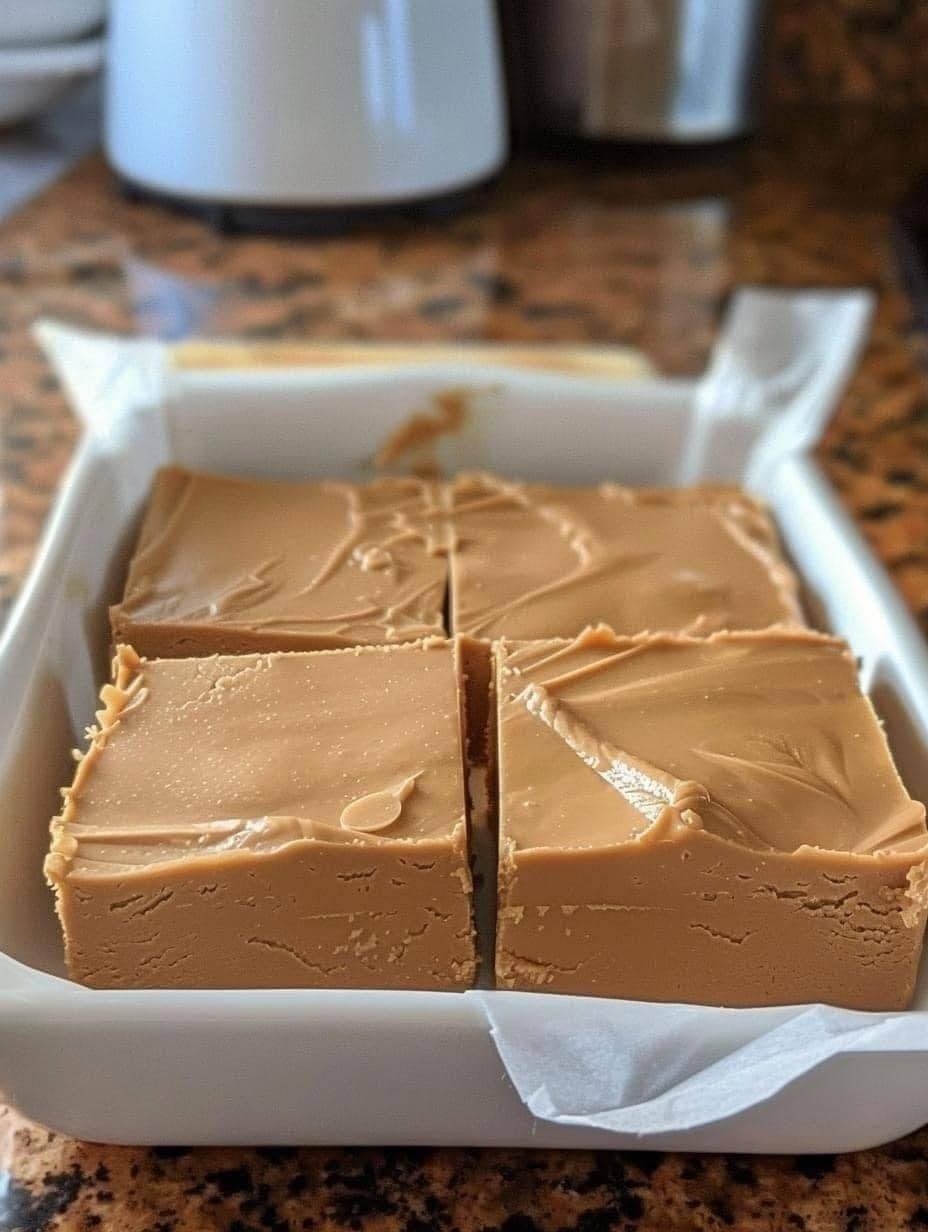
**Perfecting 3 Double Batches of Peanut Butter Fudge: A Sweet Labor of Love**
Some recipes are so good, they don’t just get made once — they get made in **double batches**, again and again. That’s exactly what happened with this **Peanut Butter Fudge** recipe. Rich, creamy, and melt-in-your-mouth delicious, it’s one of those treats that people instantly ask for seconds of — or better yet, the recipe!
After **perfecting three double batches**, I can say this: peanut butter fudge is a timeless classic that never disappoints — whether you’re making it for a holiday tray, a bake sale, or just because.
—
### 🥜 Why Peanut Butter Fudge Is a Must-Make
Peanut butter fudge hits that perfect sweet spot — literally. It’s:
* **Easy to make** with just a handful of pantry staples
* **Smooth and creamy**, with that nostalgic melt-in-your-mouth texture
* **Loved by all ages** — from kids to grandparents
* **Ideal for gifting** — it travels and stores well
Whether you keep it simple or jazz it up with mix-ins (hello, chocolate swirls or chopped nuts), it always delivers big flavor in a small square.
—
### 🍬 The Go-To Ingredients:
* Creamy peanut butter (quality matters!)
* Butter
* Vanilla extract
* Powdered sugar
* Optional: marshmallow fluff or sweetened condensed milk for extra creaminess
Some versions use a stovetop method with sugar and milk boiled to soft-ball stage, while others are more no-fail and microwave-friendly. Either way, the goal is the same: a smooth, firm-but-creamy fudge that holds together but melts when it hits your tongue.
—
### 🔁 Tips from Triple-Batch Experience:
* **Line your pans** with parchment for easy removal.
* **Work quickly** once you mix the sugar into the peanut butter mixture — it sets fast!
* **Use a hand mixer or sturdy spoon** to beat it until thick and glossy before pouring.
* Let it **cool completely before cutting**, and wipe your knife between slices for perfect edges.
* Want clean squares for gifting? Chill it slightly before cutting, then bring back to room temp before packaging.
For Complete Cooking STEPS Please Head On Over To Next Page Or Open button (>) and don’t forget to SHARE with your Facebook friend
ADVERTISEMENT
